Do you ride a Nukeproof Mega, or similar bike, and want to run a bottle cage inside your frame?
Fear not, team rider Chris Hutchens has the answer …
Modern enduro bikes are a blast to ride but so many of them suffer with a shared problem … there’s no room to fit a bottle cage inside the frame.
Sure, that’s a bit of a first world problem but it is nice to leave the bag at home and go for a quick shred with a bottle on your frame and nothing else.
Update: Yep, we know that the Mega (and other frames) have bottle cage mounts on the downtube, allowing you to run a cage below your frame. We’ve created this top tip for people that want a cage inside their frame. We’ve found that placing your bottle inside the frame means less chance of it shaking loose and less chance of your bottle getting covered in mud.

Here’s how to fit a bottle cage to your Nukeproof Mega or a similar full suspension bike.
You’ll need the following bits:
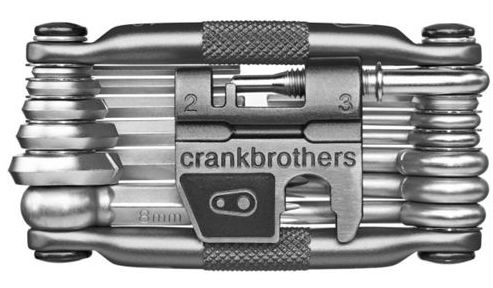
5mm allen key
Easy one to source hopefully? You’ll need this to remove the shock and flip it round to accommodate the bottle cage.
You can check out our pick of the best multi-tools for under £35 here.
A small to medium sized bottle
With limited space you won’t be able to carry a huge bottle. We’d recommend a 500ml bottle, though you might just about squeeze in a 600ml. Any larger is a no-go sadly.
You can buy a 600ml Camelbak Podium bottle for £7.99 (42% off) over at Wiggle.
![]()
A side loading bottle cage.
Frames with a bit more space let you pull the bottle out. On the Mega, you’ll need to push your bottle in from the side to make up for lack of space.
A side loading bottle cage is your secret weapon here and there are plenty online for cheap to make it work.
You can buy a Giant side loading bottle cage for £9.99 over at Tredz.

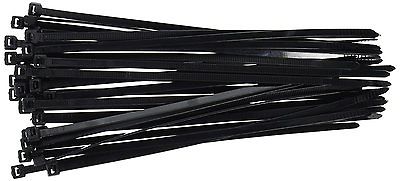
And a couple of big, chunky zip ties
There’s no mounts for the bottle cage where you need them, so you’ll need some big and sturdy zip ties to get the cage into place on the frame. Go for the long, thick types. Black is good to keep things stealthy.
A shock pump
It’s worth checking the clearance of your frame with the new bottle cage fitted. You’ll want a shock pump so you can remove the air from your shock, check clearance and then refill the air.
If you don’t have a shock pump, you can buy one online at CRC for £11.99.

And then here’s how to fit it all together …
Before you start …
We’re going to fit the bottle cage to the top of the front shock mount. There’s just about enough space here on medium (or larger) frames to squeeze it in without fouling on bits of the frame or the shock.
It’s worth noting that the cage isn’t meant to go here and it isn’t a bodge that’s approved by the manufacturer so, take care as you go and don’t do anything that will void any warranties or damage your bike. There’s a good chance it will scratch your paint.
If any of this damages you or your bike we can’t be held responsible. You’ve been warned!

If you aren’t confident removing your rear shock, ask your local bike shop to help.

1. Flip your rear shock
Step 1. If your bike has a reservoir on the rear shock you’re going to need to flip it over. If it doesn’t, skip this step.
If you have a work stand, put the bike in the stand at this point and get it up off the floor. This will help when you remove the shock.
Step 2. Undo the two bolts that hold your rear shock in place with your 5mm allen key. Put them somewhere safe and remember which bolt went in which end of the shock.
If your bike is sat on the floor, get ready for the frame to fold in when the shock is removed. Hold the bike by the saddle as the shock is removed and gently allow the bike to fold in a way that doesn’t cause any damage.
Step 3. You can then slide the shock out of the frame. It might need a little bit of a tug to remove, but shouldn’t need brute force.
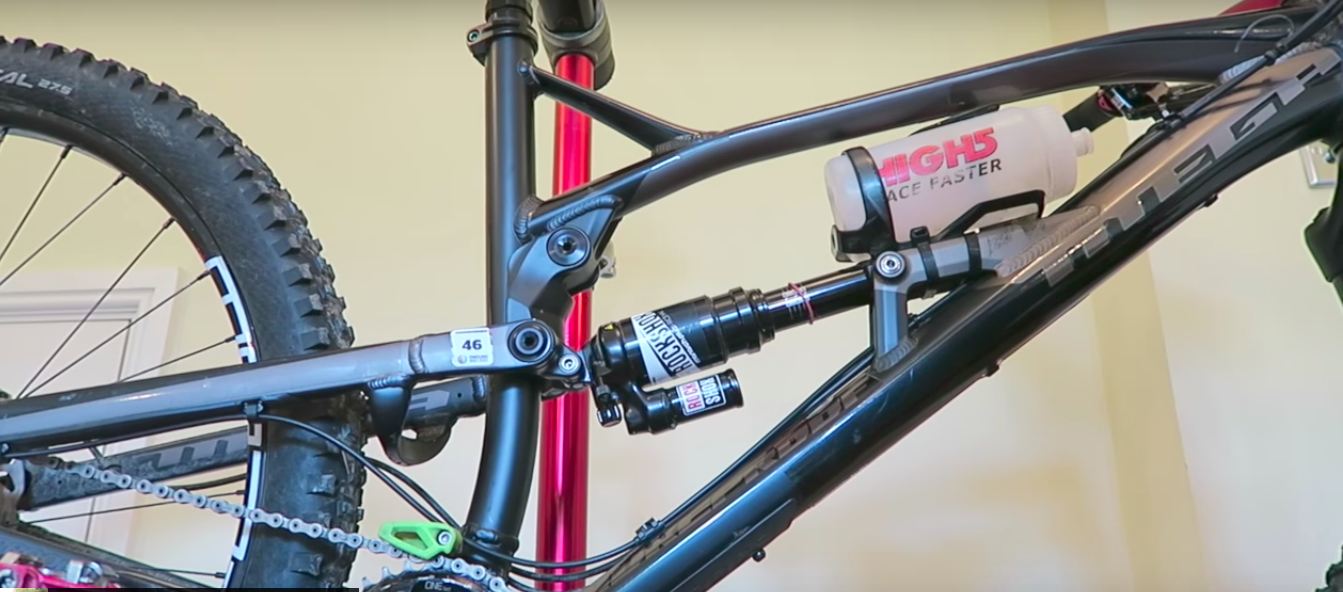
Step 4. Once the shock is out you can flip it over and place it back in with the reservoir pointing down and back (see the picture below).
Step 5. Tighten the bolts back up and make sure the shock is back in place and the bolts are secure. Make sure there’s no play or rattle and the shock doesn’t foul on the frame or any cables anywhere.
2. Install your bottle cage
Step 6. Place the cage on top of the front shock mount. You’ll need to balance it on top of the mount and find the sweet spot where it will sit nicely in place and not move around.
If you’re taking the belt-and-braces approach you can put a piece of thick rubber under the bottle cage. This will stop it moving around and reduce any damage to your paint work.
Step 7. You’ll need to zip tie the cage in place and pull it super tight to make sure it’s stable and can’t slide about.
Make sure that the cage isn’t fouling on your rear shock – if it is, it won’t work.
Step 8. Last but not least, pull the zip ties tight with a pair of pliers and cut off any excess on the ties with cable cutters. You can finish them off with nail clippers to remove any sharp edges.
3. Check clearance
The last step is an important one. Make sure that your new upgrade fits your bike nicely and is going to work when you’re riding.
Step 9. Put a full bottle in your new bottle cage. Place your shock pump on your rear shock valve and make a note of your air pressure.
Next, remove all of the air from your shock and compress / extend your suspension to check that the cage clears the frame through all of your travel. (Thanks to WO reader Gary ‘Frank’ Campbell for this tip!). If it doesn’t, you need to think again.
Then, pump your shock back up to your original air pressure and replace the valve cap.
Step 10. Last but not least, have a ride on the bike and make sure that your new cage works nicely, doesn’t catch on your knees when pedalling and that your bottle stays securely in place.
Make sure that the bottle slides in and out nicely and is easy to use on the trail. Check that it isn’t going to shoot out when you hit any rough stuff.

